
Going DIY is growing in popularity. For many, focusing on a hands-on manual task is a refreshing change of pace. It is a chance to take a break from a world dominated by email, electronic gadgets, and technology. Owning a home provides ample opportunities to address a wide variety of minor breakdowns or self-initiated improvement projects; many of which can be good candidates for a DIY approach. One area of home repair work that often attracts the DIY-minded individual is household plumbing.
Just as the average homeowner should think carefully and exercise caution before attempting any electrical repairs, it is wise to keep in mind some primary considerations before starting a DIY home plumbing repair.
Basic DIY Home Plumbing Repair Considerations
DIY plumbing repairs may not carry the potential for an electrical shock or fire, but some issues require some forethought and planning when dealing with plumbing and sanitation.
Before attempting any DIY plumbing repairs:
● Be sure you have the right tools. If you start a DIY plumbing project without the proper tools, you may find that you have painted yourself into a corner halfway into the job.
● Find out the exact type of replacement parts you may need. Do not count on mix-and-match replacement parts or fixtures. Check to see who the manufacturer is for the parts or assemblies you will be working with. In most cases, you will need to obtain direct replacements. Locate a plumbing supply outlet — you may need to bring them the old parts so that they can supply you with an exact match if you cannot find what you need in a hardware store.
● Be mindful of water pressure and shut off water supplies first. You will typically find a water shut-off valve under a sink or toilet, but if the valve does not work or if you do not find one, you will need to locate and turn off your home’s main water valve.
● Pay close attention to the orientation and arrangement of parts as you disassemble things. Faucet, toilet and other assembly parts need to be put back together in the proper order and direction, or else things may not work. It can help to draw a diagram or take a picture with a smartphone.
● Be ready for unexpected water flows or floor puddles. Keep sponges, cloth, or paper towels and a mop nearby. You will also appreciate having a pan or bucket handy if water begins pouring out of a toilet tank or a pipe fixture.
How to Fix a Leaky Faucet
A leaky faucet is a common DIY repair that most average homeowners will consider tackling. The cause of the leak is typically a part inside the faucet assembly that has worn out and needs to be replaced. Be sure to shut off the water supply to the sink before you begin taking anything apart.
The toughest part of a leaky faucet repair can be finding the right replacement part. In most cases, you should be able to easily see the brand name and model number stamped on the fixture and many faucet manufacturers sell repair kits that you can find in hardware stores or home centers. In some cases, however, you may need to take the old parts with you to a plumbing supply outlet for an exact match.
It may be easy to see what parts need to be replaced by examining them as you disassemble the fixture. Some of the components can be small, so it is a good idea to place a tray or pan in the sink so that nothing slips down the drain while you are working. Make sure you keep track of how everything needs to go back together. Look for dirt or mineral deposits that should be cleaned off before you reassemble things.
You will most likely need an Allen wrench to remove faucet handles or covers. Investing in a set of these will help prepare you to deal with a variety of faucets and other fixtures. Covering the grips of slip-joint pliers with tape will allow you to remove, replace, and tighten decorative fixture covers without harming the finish.
How to Fix a Clogged Sink
One of the first things to keep in mind when tackling a clogged sink drain is that using liquid drain-cleaner chemicals can make the situation worse. These chemicals can corrode pipes and cause them to leak or break. Then you will be facing a much more significant problem than a clog.
You may also end up with puddles of corrosive liquids that can cause burns or damage the surfaces they come in contact with. The best way to approach a clogged sink is to use a plunger. If that does not clear the clog, you may need to remove and clean out the P-trap under the sink.
Don’t use a plunger if you have already poured chemicals into the drain. These chemicals can cause serious skin burns if they splash up and using a plunger can cause trapped liquids to splash.
Assuming no chemicals have been poured into the drain, you can start tackling the clog with a plunger. To get a good seal between the plunger and the clog, first, fill the sink with about four inches of water. For a double sink set-up, seal the other drain with a wet rag before you begin plunging.
If there is a dishwasher connection, place and tighten a clamp over the dishwasher drain line. This will prevent your plunging from forcing dirty clogged water into the dishwater. You should be able to find a flexible point in the dishwasher connection where you can place the clamp.
When plunging, the goal is to force water into the clogged drain rather than air. It can be helpful to roll the head of the plunger below the surface of the water in the sink to make sure no air is being trapped inside the plunger bell.
Work the plunger up and down forcefully while keeping the bell under the surface of the water. If the water doesn’t drain out of the sink completely after your final upstroke and pull-out, repeat the process for a few minutes. Still no success? The next thing to try is removing the P-trap under the sink to get at the clog. The P-trap is the U-shaped pipe below the sink that can also be described as resembling an upside-down “P.”
You will want to remove all the water from the sink before you begin disassembling anything. The water in the sink will otherwise come pouring out of the drain when you loosen the P-trap. Be sure you have a pan or bucket under the trap because any water that is trapped in the pipe below the sink will pour out when the P-trap is removed.
You will need slip-joint pliers to loosen the circular slip nuts that connect the P-trap at each end. Loosen the slip nut at the end of the P-trap closest to the wall first, and you should be able to wiggle out the P-Trap. After you have removed the P-trap, and have found the clog inside, you can easily pull it out.
Don’t over-tighten the slip nuts when you reinstall the P-trap. Run some warm water down the drain to test the line. If there is still a problem, you are dealing with a clog past the P-trap, and will need to snake the line to get to it.
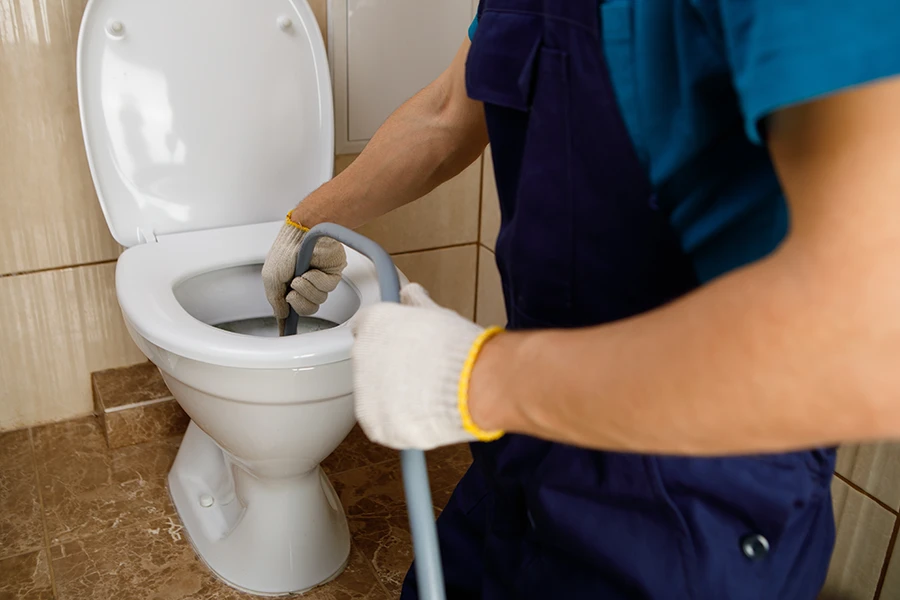
How to Fix a Running Toilet
One of the most common causes of a running toilet is a leaky flapper. The flapper closes off the tank so that the fill valve can refill the tank after a flush. When the flapper does not create a tight seal, water flows out of the tank, and the fill valve keeps running to refill the tank to its proper water level. Replacing a bad flapper is usually an easy DIY fix.
You can check to see if the flapper needs to be replaced when you hear the toilet running. Open the tank, and you will see the flapper at the bottom of the tank, at the end of the chain, attached to the flush lever. Use a stick to push down on the flapper.
If this stops water from flowing out of the tank, it will enable the water to fill to the correct level, and the fill valve will shut off. You’ll hear it stop running and you’ll know the problem was a bad flapper. When you remove the stick, you’ll most likely hear the fill valve start running again.
Most hardware stores and home centers will carry a brand name manufacturer’s replacement kit or a universal model. You will typically get better results if you stick to a direct replacement. Most kits come with detailed installation instructions and pictures. Shut off the water supply to the toilet before beginning a flapper installation and make sure you have clean-up materials handy.
DIY Plumbing May Not Be for Everyone
You may be looking forward to your DIY plumbing repair, but the overall functioning and integrity of your home’s plumbing system is the higher priority. We can learn from our mistakes, but your plumbing system may not be the best choice for a learning experience based on hindsight.
Water damage to floors and walls can be costly, and the issue of sanitation can also affect your family’s health. Not every DIY enthusiast is fully prepared to remedy all the errors or mishaps that could occur during a first-time plumbing repair attempt. If you suspect you may fall into this category, it’s best to call an experienced professional for your plumbing needs.
If you’re looking for a reliable and fully certified plumber in Phoenix or the surrounding area, you can find one by contacting Day & Night Air. You’ll appreciate the peace of mind that comes from knowing you’ve entrusted the care of your home’s plumbing system to someone with the knowledge and experience to tackle anything that needs to be done.